Integrating websites with LinkBoss is very easy. If you face any troubles, don’t hesitate to contact live chat support for faster solution.
If you prefer video, check this:
Step 1: Let’s start. If you don’t have a Linkboss account, head over to app.linkboss.io and click on register.
Step 2: Then, fill out the registration form. It’s free. No credit card required.
Step 3: Once you register, a verification code will be sent to your email (check spam if you can’t find it). After confirming your email address, you can log in and access the dashboard. Now click on the “New Site” button.
Step 4: Paste your exact WordPress URL (must match; see picture for example), choose website primary language, and click on “Create” button.
Step 5: After that, you will see your website on the dashboard. Now click on the “Configure” button.
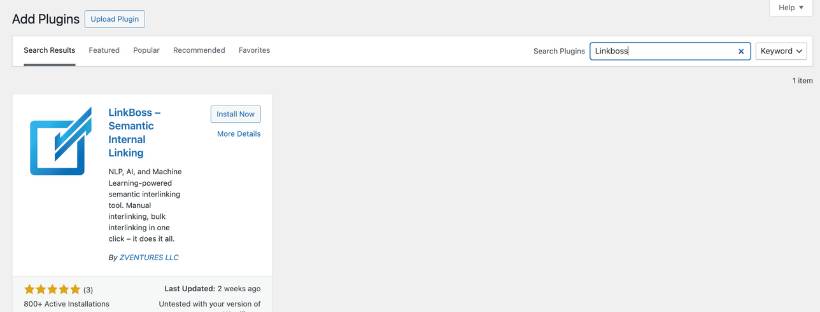
Step 6: Now you can either install Linkboss from the WordPress official plugin repository (Go to WordPress dashboard> Plugins > Add New Plugin> Search for LinkBoss> Install Now)
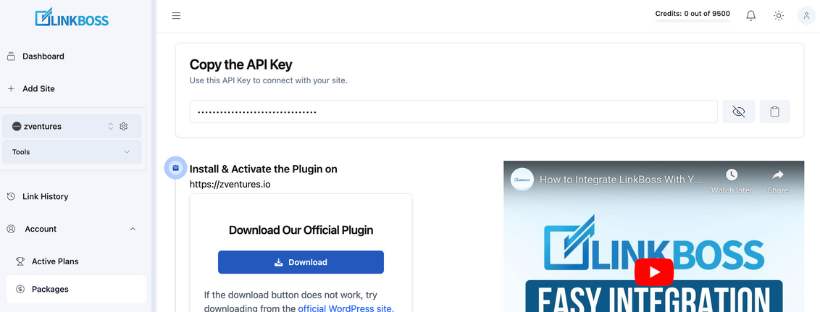
Or, you can download the plugin file from the app and install it by uploading on WordPress it as a plugin – (Go to WordPress dashboard>Plugins >Add New Plugin > Upload Plugin, then upload the zip file that you just downloaded.)
Step 7: From WordPress, make sure to activate the plugin. Once activated, you will see LinkBoss appear on the left side menu.
Step 8: Click on “Settings”.
Step 9: Now click the “Prepare Data” button. It will take a couple of seconds. Once it reaches 100%, paste the API key you copied before in “Your API Key” Field. Then click on “Save Settings & Sync” button. Remember: API key is different for each site.
Step 10: Once syncing is complete in LinkBoss WordPress plugin, go to LinkBoss app dashboard again and reload the page.
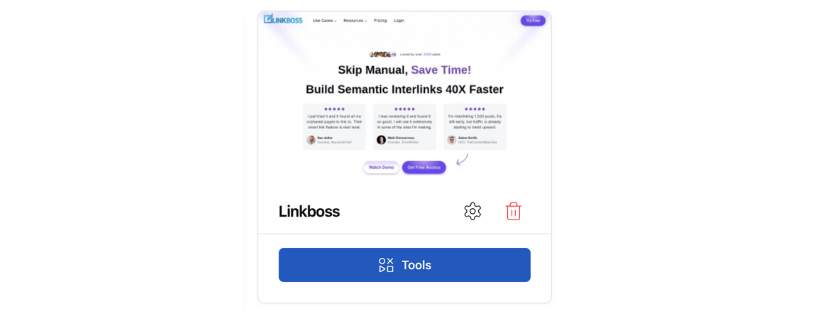
Step 11: You will find your website on the dashboard. Click on “Tools” button to start using all the available features.
It’s done. LinkBoss is very powerful if you use it right. There are so many use cases.
If you don’t know how to use the tool, check our YouTube channel. You can start with this video:

